It may seem like a highly complex matter to carry out underfloor heating, but once done, it is very comfortable and efficient. The following are the proper guidelines when installing an electric or hydronic underfloor heating system.
Prepare the Subfloor
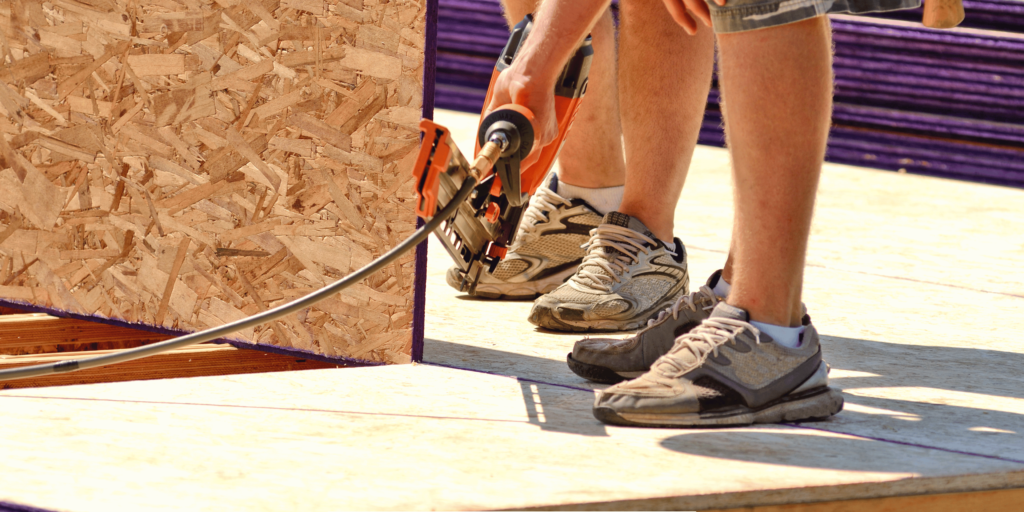
The subfloor should be clean, level, and free of any debris before the installation process begins. In this case, any extrusions exceeding the size of 3mm should be smoothed. Sweep or vacuum the floor to clear it of dust and other small particles.
Plan Out Your System
The spot where you desire to install heating cables or pipes. Always ensure adequate space between runs and that cold air does not flow through high heat loss areas such as the outer walls. You might want to place sensors in areas of the house other than the thermostat.
Install Insulation
In electric systems, the insulation boards used should match those for use in under floor heating. For hydronic systems, the recommended insulation material is foam or rigid boards for an R-value of not less than R-10. Insulation increases efficiency because it channels heat upwards.
The next step is to install the Underfloor Heating System.
Electric Systems
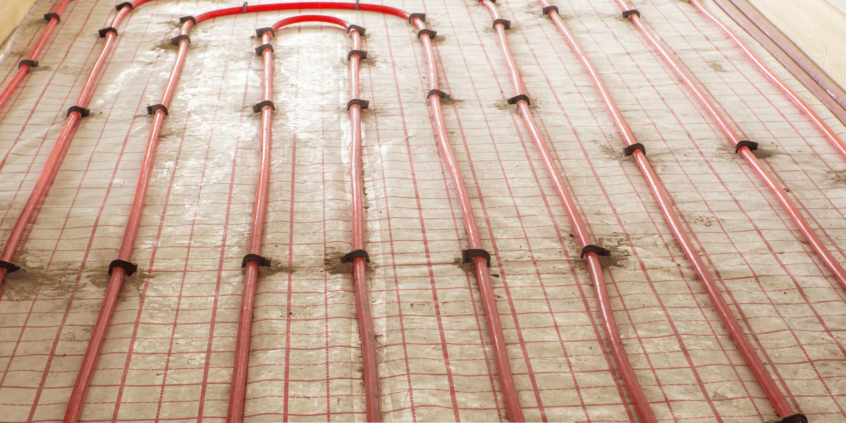
Lay down the heating cable runs, and then ensure that each cable is 3 inches apart. Secure the wires by taping them to temporary hooks on the subfloor while you are working on the floor. Make sure that wires do not run over each other or are in close proximity to each other.
Hydronic Systems
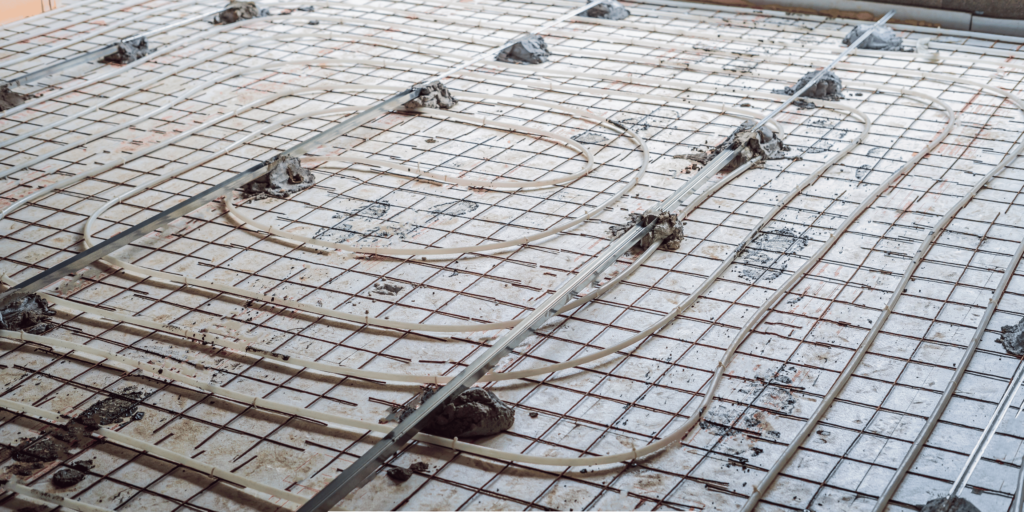
Connect snap tubes and check for leakage using pressure with the help of an air compressor. A Mark tube is installed on the insulation boards. Screw tubes to boards every 6 inches in looping arrangements.
Attach the Floor Sensor
Position the floor sensor between two runs of the heating cable or two tubes. This controls and measures floor temperature to regulate it properly. Wires/tubing should not be damaged; hence, it is essential to protect them.
Protect the Heating Cables and Pipes
Flooring installation over electric systems should have a thin layer of self-leveling concrete, thin-set, or leveling compound for heat dissipation.
Flooring over hydronic systems should have another layer of plywood over the tubes if tiling or laying laminated floors.
Install the Thermostat
Install the thermostat at eye level and ensure it is placed off from the walls that faces the exterior or any other heat generating equipment. For electric systems, connect the load wires to a dedicated circuit at the main electrical panel.
Hydronic systems are connected to the boiler or water heater and incorporate control valves that blend hot and cold water.
Test the System
Start the system and then gradually raise the temperature. It is recommended to walk over all parts to look for cool areas; if the cables are too close or the tube runs are to close together, change their positioning. Set the floor limit temperature according to the type of floor in your home.
Lay the Final Flooring Surface
For tiles and stone, the recommended method is to use latex modified thinset for bonding and to avoid cracking due to heat contraction/expansion. Natural stone may require further treatments such as sealing. Other types of floorings that are suitable for underfloor heating include engineered hardwood and laminate floorings.
Perform the Final Inspection
Ensure the following after switch on the system; All floor areas to warm up with no hot and cold areas before proceeding with the construction. Congratulations, your underfloor heating system is now ready for use!
Benefits of Underfloor Heating
Comfort
Heating the floor eradicates cold floor and drafts in a home, making the flooring comfortable. This kind of warm rising from floor has the potential of distributing heat evenly and has the capability of making the air temperature 2-4°F more excellent than other heating methods while still providing comfort.
Efficiency
Water that flow in pipes or electric currents generate heat at the point of use. They are more energy efficient than forced-air systems because there is less wasted heat, as heat rises and forms layers.
Zone Heating
Compared with a central furnace that warms the entire building, underfloor systems can be installed on a single room basis depending on the temperature in different zones.
Healthier Air
This is true because unlike other heating systems that have moving parts and are thus capable of causing dust to rise, underfloor heating has no moving parts. Also, when there is little air circulation, there will be a reduced circulation of allergens in the environment.
Invisible System
Heating is located under the floor so rooms are not filled with ugly radiators or vents to heat them.
Increased Floor Space
The wall surface remains open for fitting furniture because there will be no need to accommodate radiators or baseboards.
Safety
It is safer for your family, compared to the alternatives, because it has low voltage cables and water pipes. Water and air temperatures on the surface do not exceed 85 °F for bare feet.
Long Term Savings
High quality underfloor heating systems have the potential to make significant improvements in energy efficiency for 20 years after their installation. This helps to offset a good deal of the initial installation costs in the long run.
Adds Resale Value
Under floor heating makes your home more desirable when you are selling it and can add value to your property compared to the other homes in the market.
Conclusion
Underfloor heating provides even heat distribution and lifetime benefits for any house. By adhering to basic installation guidelines such as preparation of subflooring, layout of heating runs, correct positioning of sensors, and testing finished flooring, this comfort system can be expected to provide years of service. If you face any issues during this process, it is advisable to consult an underfloor heating specialist.