Among a number of benefits of having a metal roof are that metal roofs are good at lasting long and are efficient energy consumers. For example, when it is cold the snow and ice are likely to accumulate on the metal roof until it causes leakage or similar problems. One way to do this is by laying down heat tape on a metal roof that you own or are using. Heat tape is a kind of electric cable that produces heat to melt the snow and ice which is suitable for the roof. Here we will explain step by step how to install the heat tape on the metal roof.
Materials Needed
Before starting the installation process, you’ll need the following materials:
1. Heat tape
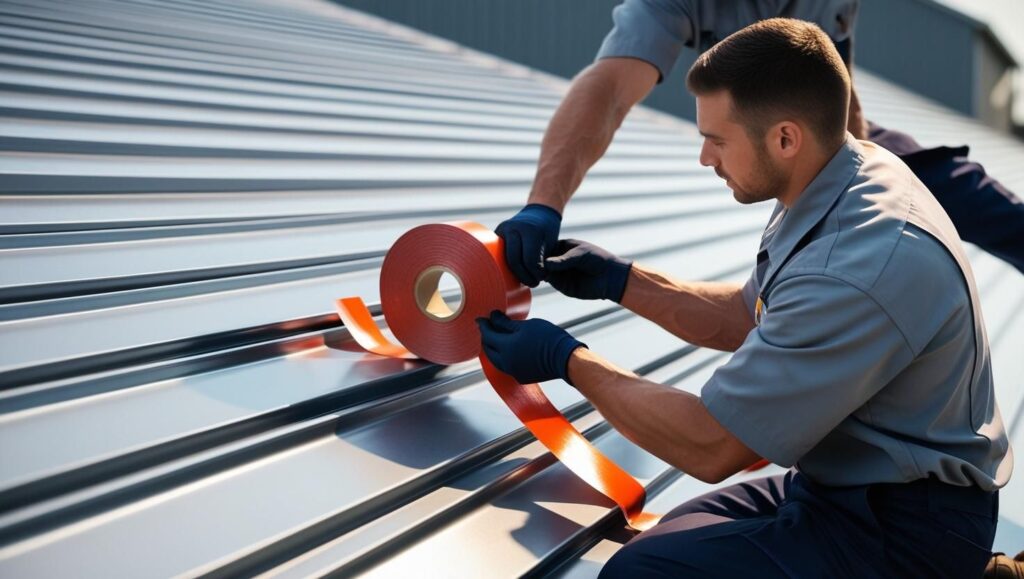
2. Staple gun and staples
3. Utility knife
4. Tensiometer or helper
5. Gloves and safety goggles
6. Extension cord
7. Wire nuts
8. Waterproof tape
9. Drill
10. Hammer
11. Chimney cap (if needed)
12. Safety cable (if needed)
Planning and Preparing
1. Plan your installation route: Working from the bottom up, it is important that a person starts from the lower area of the roof of a building to the higher section. In order to get even heat distribution, you should arrange your installation path in the form of an S.
2. Inspect the roof: First is to make sure to keep the metal roof clean and free of debris. Ensure there are no lost, bent or twisted fasteners and replace if any of them are missing.
3. Choose a power source: Determine where to hang the extension cord in an electrical outlet. If you have an outlet, preferably if it is nearby, then you can use that. If not, then probably, you should take an underground cable to an outside outlet.
4. Install the chimney cap and safety cable: If your roof has a chimney, be sure to add a chimney cap because heat tape should not come into contact with it. Moreover, fasten the heat tape to the chimney with a safety cable avoiding the heat tape from drooping or being pulled off.
Laying the Heat Tape
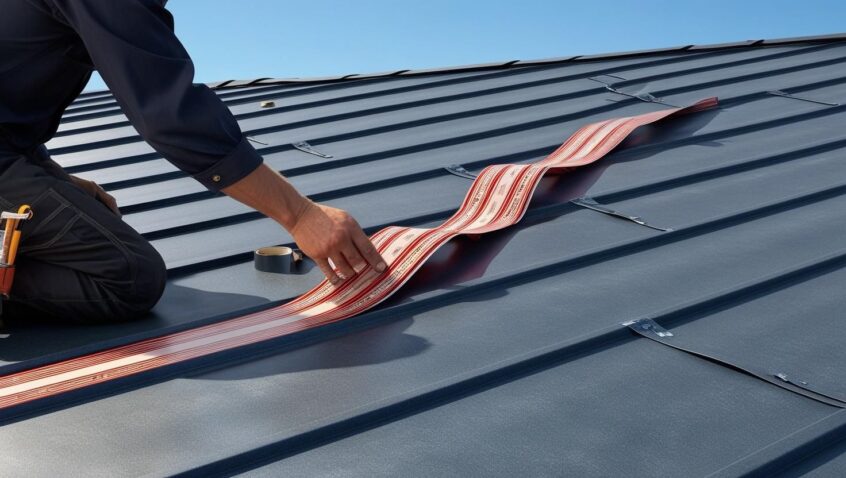
1. Unroll the heat tape: You should begin at the lowest point of the intended installation route and install the heat tape in a straight manner not twisted or kinked.
2. Secure the heat tape: Screw the heat tape with the cling of the staple gun every 12 inches to the length of the roof. Remember to see that the staples penetrate through the metal roof and engage the deck to hold them firmly in place.
3. Cut the heat tape: Wrap the heat tape around the chimney, pipes, or other projection; and where necessary, with a utility knife, trim the strips as necessary.
4. Test the heat tape: When it comes time to take the heat tape for burying, you want to check it to see if it is in good condition.
Burying the Heat Tape
1. Bury the heat tape: You will need to bury the heat tape partially under the roofing material in order to prevent it from overheating on one side. Ask for a tensiometer or helper in order to pull the heat tape tightly while working on it.
2. Drill holes: As measured every 12 inches across the height of the metal roof, one is required to drill an opening right through the roof into the deck to accommodate the heat tape. The risk here is that you should not drill very close to the deck surface, or you will compromise the stability of the floor.
3. Secure the heat tape: Feed the heat tape through the holes, & fasten it with staples which should penetrate the metal roof and go into the deck.
4. Cover the heat tape: Any parts of the heat tape that are exposed should be wrapped with waterproof tape to avoid seepage of moisture into the system.
Connecting the Heat Tape
1. Connect the heat tape to the extension cord: Remove the insulation of the end of the heat tape and the extension cord, twist both wires and screw it with a wire nut.
2. Run the extension cord: If you are not connecting heat tape to a standard outlet, then you will have to take an extension cord to a convenient location to connect. Route the cord through a waterproof conduit and, where possible, should be buried.
3. Secure the extension cord: Tightly fix the extension cord to the roof without squeezing or damaging it with cable clips or other fasteners.
Testing and Maintenance
1. Test the system: Check the entire heat tape system at some point before the first freeze of the winter to make certain that such a system works correctly.
2. Inspect the system: So, do warily on the heat tape; the extension cord; staples. Some of these may have become corroded or have otherwise deteriorated and need replacing.
3. Maintain the system: Your roof has to be clear of any contents and your chimney cap has to be in good shape, and the safety cable should not to be worn out.