
Getting Started
Before installing a window AC unit in your apartment, there are a few key things you need to consider:
Check with Your Landlord
The first thing that needs to be done is to review the lease agreement and consult with the landlord or property management regarding the use of window units. Some houses may have some regulations or charges concerning the installation of air conditioning equipment. Hence, you will be required to seek prior permission.
Choose the Right AC Unit
It is essential that one chooses an AC that is suitable for the space in the room that one intends to cool. If you end up selecting a small unit, there will be inadequate cooling, while if the unit is large, it will prove to be inefficient, and the electricity bills will skyrocket. Use the sizing charts to determine the correct BTU for your conditioner.
Also, make sure the unit you decide to purchase is made for standard double-hung apartment windows. Before buying the curtains, it is essential to take measurements of the width and height of your window to ensure that the curtains fit correctly.
Gather Proper Tools and Materials
To get started, you will require some instruments such as measuring tape, two different screwdrivers, level, drill, screws, caulk/sealant, and weather stripping. You may also need shims to level out the air conditioner if there are gaps in your window frame.
Step-by-Step Installation
Proper installation of a window AC unit is crucial so as to ensure that it works as expected, has optimum efficiency and, most importantly, to avoid the risk of air leaks or even moisture damage.
Follow these key steps:
Prep the Window and AC Unit
First of all, check whether your window can be opened and closed correctly. Wipe the tracks and make sure that it glides up and down effortlessly. Start by taking down all the screens on the windows if any or any other barrier to the outside view.
Remove all the packaging materials that came with the AC unit and examine the unit for damages. Assemble any brackets or supporting panels included per the manufacturer’s guidelines. Apply weather stripping tape.
Lift Unit into Place
When you have a helper, lift the air conditioning unit and, with some care, fit it into the lower part of the window. Frame the unit and make sure that it is in the middle. Ensure back of unit is slightly inclined outside to facilitate the flow of condensation.
Secure the Unit
Once aligned appropriately, drill screws through the holes in the side flanges or brackets to ensure the unit is well secured. As required, employ shims to guarantee that the unit is leveled and that gaps are kept to a minimum.
Seal Air Leaks
Fill the other gaps around the sides and at the top of the unit by applying silicone caulk. Extra attention needs to be paid to sealing the top edges and the area beneath the lower of the unit. This assists in eliminating the chances of air gaps and energy wastage.
Install the Accordion Panels
Position or fasten any accordion side panels such that they cover the window opening around the air conditioning unit. These flexible vinyl panels assist in excluding outdoor air and weather proof the installation.
Operating and Maintaining Your AC Unit
After correct installation, proper operating and maintaining your window AC unit will enable it to function as it is supposed to.
Using the Unit
Clean the filter as often as is required by the manufacturer and this should at least be once a month. Before the onset of the cooling season, ensure that the exterior louvers are correctly adjusted and function as expected.
This way, constrict the usage of the AC to save on costs and ensure that it is only operated when there are people in the room. Close all windows and doors when operating the unit to increase the efficiency of the system. A fan can be used with the AC to circulate the cold air around the room since the fans circulate the air around the room.
Preventing Moisture Issues
By providing it with some modifications, make sure that the condensation drains properly out of the base of the unit while running rather than it back up into your window frame and apartment. The built-in tilting feature is helpful when used correctly as it allows moisture to run off. If necessary, put a bucket or tray on the outdoor window sill in order to collect the drips.
During the winter period when the outside unit is not in use, it is advisable to cover it with a plastic sheet to avoid accumulation of snow, ice and moisture in the unit’s internal area.
Make sure that the curtains/venetian blinds are left open so that fresh air and light can access the cold coils and, in the process, keep them from becoming damp.
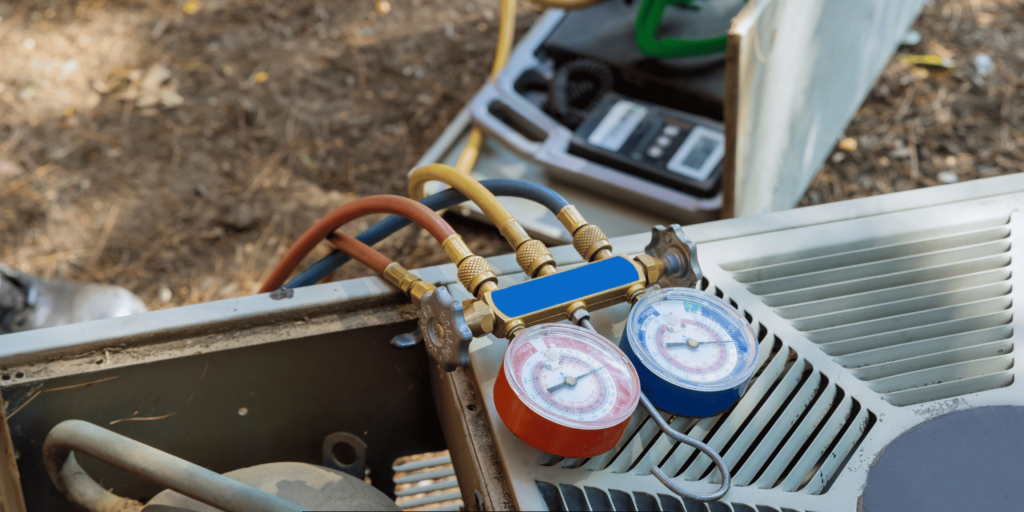
Maintenance
Check weather-striping and caulking at least once the year before the beginning of each cooling season. Use as necessary to seal any cracks or other openings that may allow air leaks. Check that the unit turns on and the thermostat is functioning correctly. For any extensive servicing requirement or repairs, it is advisable to engage a professional HVAC technician.
And that is all to it when it comes to installation of a window air conditioner in your apartment safely and correctly! Always communicate with your landlord if you have any problems or if you need help.